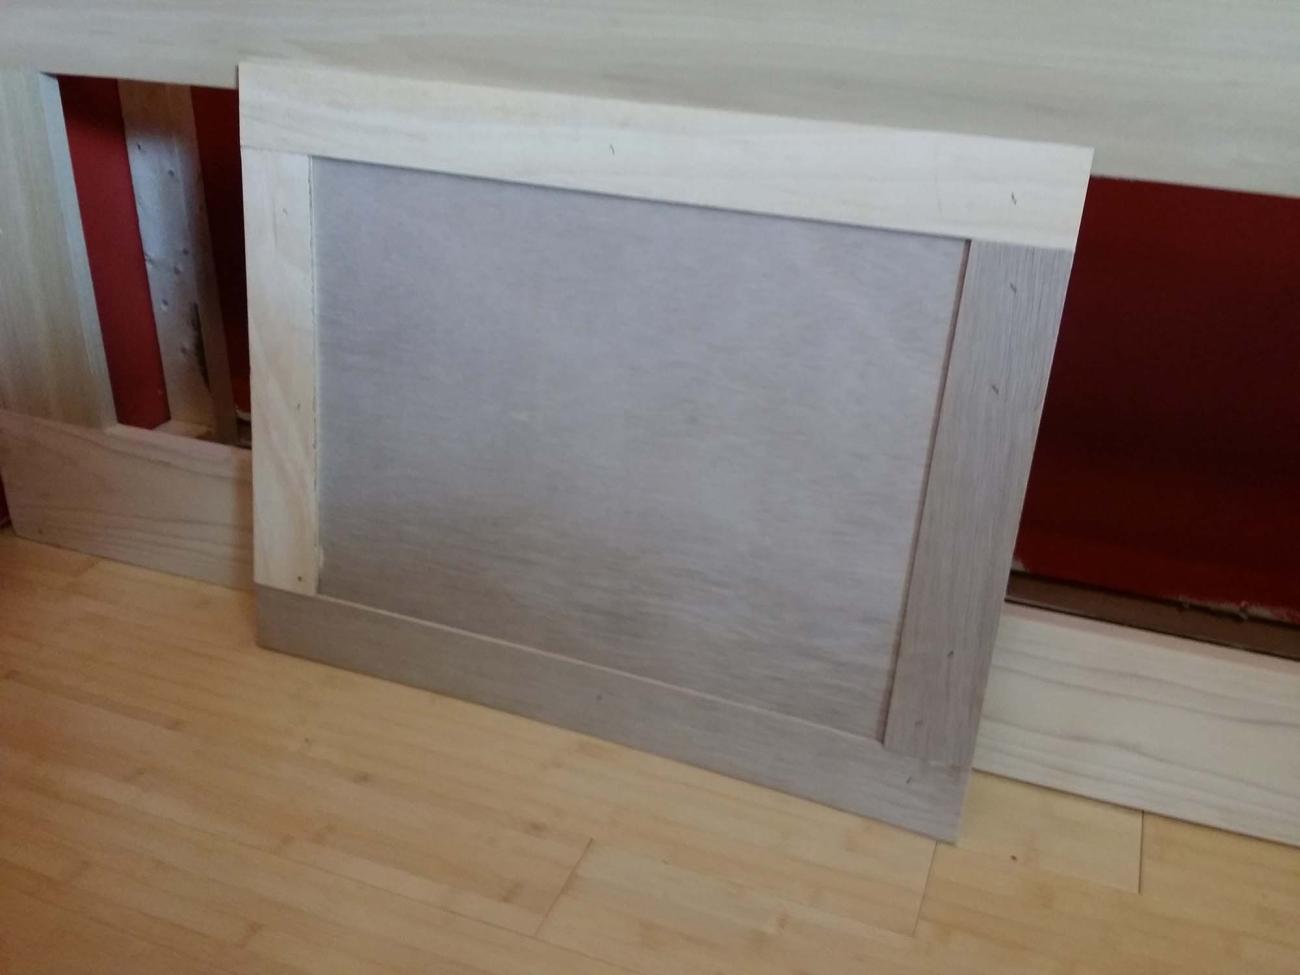
If this project interests you, then you may want to look at post #1 (planning/framing) and post #2 (making cabinet doors). Now that the cabinet doors have dried over night (wood glue), weighted by a box of books, it's time to do some finish prep on them!
- First step: sanding & cleanup. All of the edges in particular need sanded and generally neatened up. Any splinters or rough bits need to be smoothed down. You can do this with a small palm sander or sanding block. Take your time. This will make a large difference in the neatness of the final project.
- Next, after any sanding is done, wipe the doors down with a non-fuzzy damp cloth. This will remove the wood dust, so you can fill in any dents, chips, dings, or holes. To do this, I'm using an Elmer's brand wood putty. It doesn't matter what brand you use, as long as you make certain to choose one that you can use sandpaper on after drying. Some of these products essentially turn into a lump of plastic that you cannot easily work with when they dry. Read the jar or can, and make certain it explicitly says it can be sanded.
- Caulk. Use caulk to seal all cracks. This includes the edges of the doors as well as the inside edges of the trim strips. This is another crucial step that will have a big effect on how "finished" your doors look after they are painted. Go slowly and apply sparingly. Use a straight edge to smooth things down, and then wipe away any excess that has strayed onto random areas with a wet cloth.
Once the above steps are completed, you must walk away (the hard part!). Let the doors sit, on a flat surface, for 12-24 hours. Depending on the specific products you use, it may take several days for the filler and caulk products to cure. You want them to be truly dry before you sand them and apply paint! In the meantime, maybe just a bit of prep work on the cabinet top/shelf base boards? In the next post!