Cabinet Doors!
I've already described my library plans in a previous post (click here to read it). In that post, I constructed the frame and fronts for my cabinets. Next step: cabinet doors.

After looking at many proper tutorials involving routers, grooves, panels, etc., I can see why a lot of people get intimidated by cabinet doors. However, I did find a few tutorials that involved gluing trim to some plywood. I decided to go with a a simple method similar to this. Since my cabinets are only 2 feet tall, the 2x2 plywood panels in my local big box store seemed like a good choice. These are easy to carry and manage. They also have a very smoothly sanded finish.

I cut off one edge, to get the size I needed for my doors. I then used a couple of extra panels to cut strips for the front edges. The goal is to get a simple faux Shaker-style door. Once I had my little stack of strips cut, it was time to assemble some doors. I used a pneumatic finishing nailer with short staples, to attach the strips to the doors.

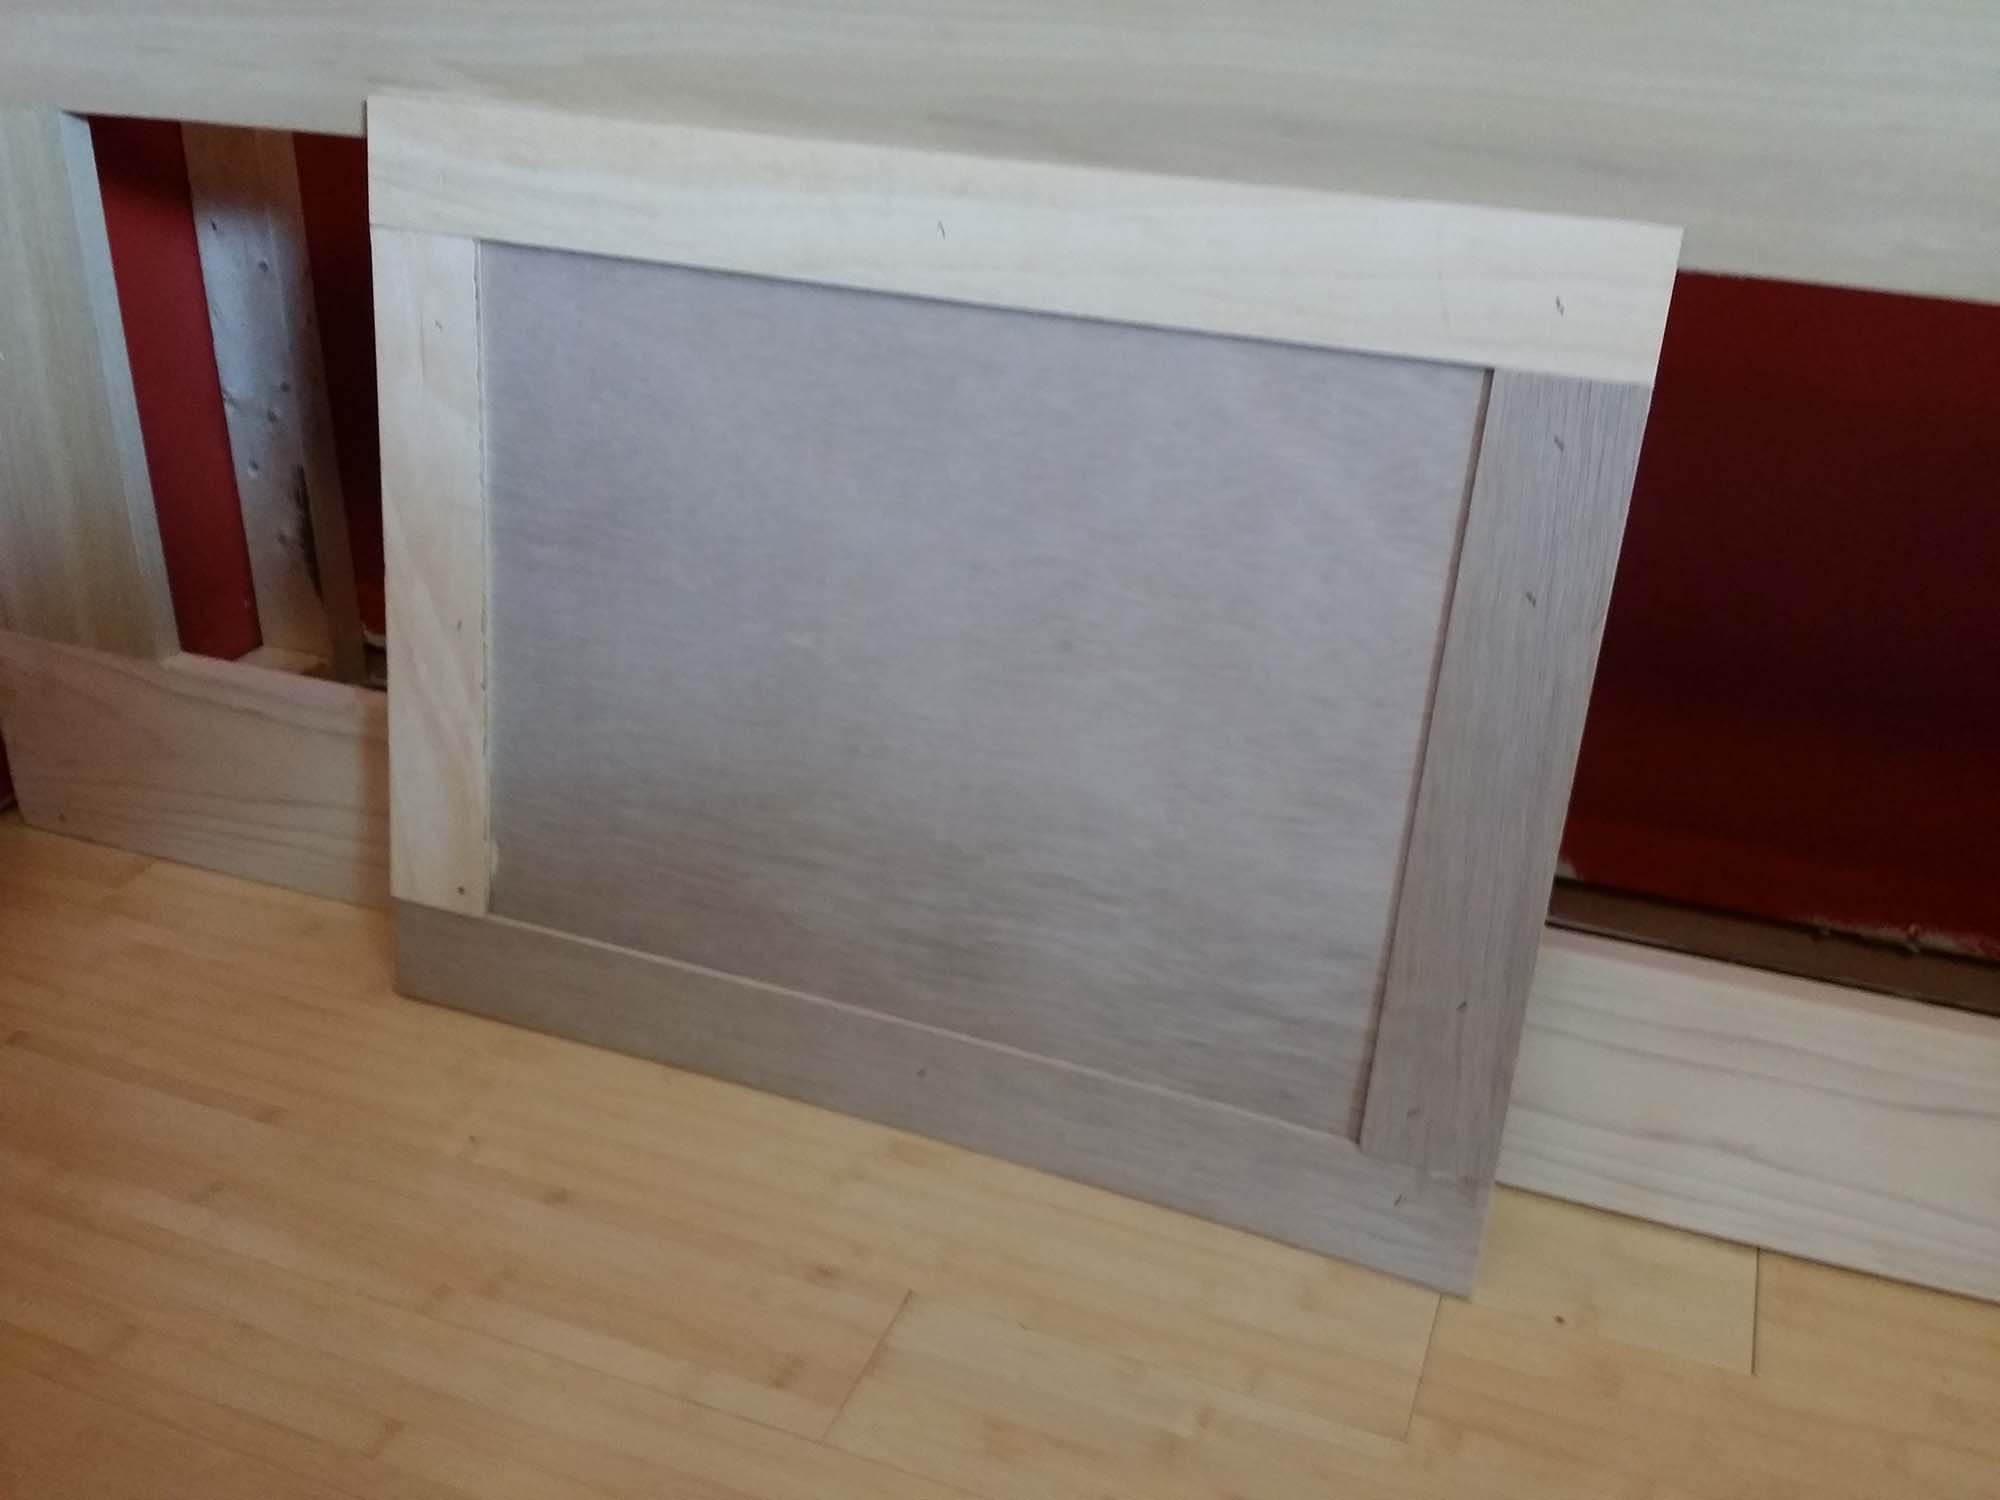
Wood glue was also added between layers. Above is a look at one of the assembled cabinet doors.

I stacked the doors and sat a box full of books on them, leaving them to dry over night, nice and flat ( I hope).

Of course, there will still need to be sanding, caulking, painting, drying, hinges, and handles! More to come in future posts.